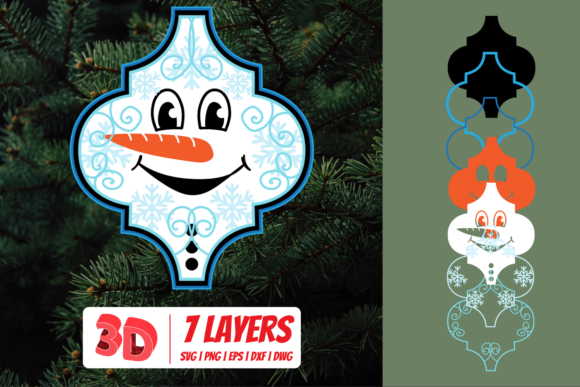
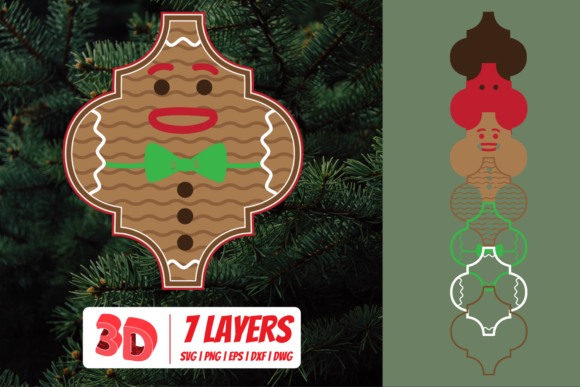
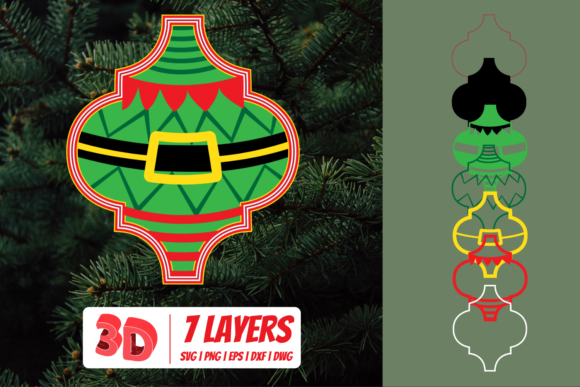
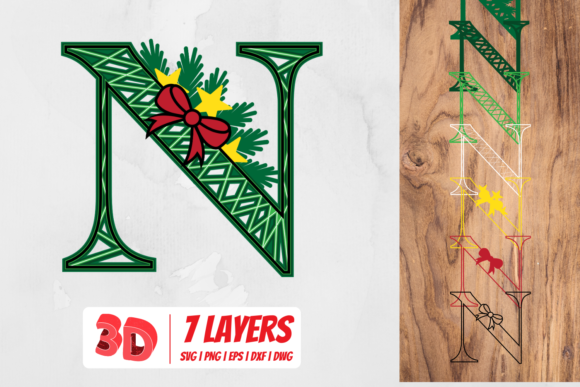
3D Santa Cut File: A Practical Asset for Holiday Projects and Beyond
A 3D Santa Cut File is a vector-based digital design optimized for layered cutting—typically used with machines like Cricut, Silhouette, or Glowforge. Unlike flat 2D holiday graphics, it contains multiple depth-aligned layers (e.g., base, middle, top) that, when cut from materials like cardstock, vinyl, or thin wood, assemble into a dimensional Santa figure. Its value isn’t in novelty alone—it’s in how cleanly it integrates into real-world creative and commercial workflows.
Where It Fits in the Creative Process
The 3D Santa Cut File functions most effectively as a *production-ready component*, not a starting point. It enters the workflow after concepting and planning—when the decision to build a physical, tactile holiday element has been made. For educators designing classroom decorations, it replaces hours of hand-drawing and layer-tracing. For small business owners preparing seasonal retail displays, it shortens turnaround from idea to shelf-ready prop by two to three days. And for content creators producing holiday-themed social media reels or unboxings, it becomes a consistent, branded visual anchor across platforms.
This isn’t a “set and forget” asset. Its utility depends on alignment with material choices, machine capabilities, and assembly logistics. A designer using 110 lb cardstock on a Cricut Maker 3 will get clean, stable layers; the same file on a basic Cricut Explore Air 2 with 65 lb paper may require manual scoring adjustments or layer consolidation. That means the 3D Santa Cut File works best when treated as one node in a chain—not an isolated solution.
Pre-Project Integration: Planning with Precision
Before importing the file, consider your output goals. Are you building a single tabletop ornament—or 50 identical units for a craft fair booth? If volume matters, check whether the file includes nested layouts or separate layer files. Some versions group all layers on one canvas for easy resizing; others split them into individual SVGs for selective use (e.g., reusing only the beard layer for a custom reindeer variant).
Compatibility testing is non-negotiable. Open the file in your cutting software *before* loading material. Verify layer colors match your machine’s color-to-action mapping (e.g., red = cut, blue = score). Confirm text elements are outlined—not live fonts—and that no hidden guides or off-canvas objects exist. One overlooked 0.1 pt stroke outside the artboard can trigger unnecessary cutting passes or misalignment during assembly.
Also assess scalability. Most 3D Santa Cut Files scale cleanly between 4" and 12", but push beyond that and fine details—like eyelashes or stitching lines—may become too thin for reliable cutting or too thick for clean folding. Test at 80% and 120% of your target size first, especially if using textured paper or metallic foil.
During Execution: Assembly as Part of the Workflow
Cutting is only half the process. The real efficiency gain comes from how the layers guide physical assembly. Look for files that include numbered tabs, alignment marks (crosshairs or corner notches), or tab-and-slot geometry—not just glue points. These features reduce trial-and-error and support repeatable builds across team members or student groups.
For educators running holiday STEM activities, this structure turns assembly into a low-stakes engineering exercise: learners identify load-bearing layers, test joint integrity, and iterate on adhesive choice (glue stick vs. double-sided tape vs. hot glue dots). For marketers producing branded holiday mailers, it ensures consistency across batches—no variation in Santa’s hat angle or beard depth.
Time-saving tip: Cut all layers for multiple Santas *in one pass*. Load your mat with repeated layer sets—base, middle, top—arranged in columns. Then cut once, peel, sort, and assemble in sequence. This cuts machine runtime by up to 60% versus cutting each Santa individually.
Post-Project Use: Extending Value Beyond December
A well-designed 3D Santa Cut File doesn’t expire on January 1. Its layered logic translates to other themes: swap the red coat for green and add antlers to create a 3D elf; invert the face shape and extend the nose for a friendly snowman; reuse the base layer as a template for custom gift tags or mini advent calendar pockets.
Long-term users often repurpose the file’s structure as a learning scaffold. Freelance designers use it to teach clients about vector layering principles. Small business owners archive cut settings (blade depth, pressure, speed) alongside the file—creating a reusable reference for next year’s batch. Educators save photos of student-built versions to demonstrate spatial reasoning outcomes in grant reports.
Workflow Integration Across Tools and Teams
The 3D Santa Cut File rarely lives in isolation. It commonly connects with:
- Design tools: Imported into Adobe Illustrator or Inkscape for color overrides, shadow additions, or custom text engraving.
- Project management: Assigned as a task in Asana or ClickUp with linked material checklist (e.g., “6 sheets 110 lb kraft, 1 bottle PVA glue, 1 pack 1/8” foam tape”).
- E-commerce platforms: Paired with product mockups in Canva or Placeit to generate listing visuals before physical inventory arrives.
- Educational LMS: Bundled with step-by-step PDF instructions and a QR code linking to a 90-second assembly video for flipped classroom use.
That interoperability hinges on file format discipline. Prefer SVG over PNG or JPG—vector retains editability and scales without pixelation. Avoid ZIP-only distributions; ensure the download includes both SVG and DXF for broader machine compatibility. If the file ships with a README, scan it for version notes—some updates fix known layer misalignment in specific software versions.
Quality Control and Consistency Practices
Consistency starts with calibration. Run a test cut on scrap material *every time* you change blades, switch paper brands, or adjust ambient humidity (cardstock behaves differently at 30% vs. 60% RH). Mark your test piece with date, material, and settings—then keep a log. Over time, patterns emerge: e.g., “Cricut Joy + 80 lb glitter paper = 0.8 mm blade, pressure 220.”
For teams or classrooms, standardize assembly order. One person cuts, another sorts layers into labeled trays (Base / Middle / Top / Accessories), and a third handles adhesion. This reduces errors and makes troubleshooting faster—if a batch of Santas leans left, you know to check middle-layer alignment, not glue application.
Finally, treat the file as a living asset. Rename it clearly: 3D_Santa_CutFile_v2.1_Cricut_Maker3.svg. Store it in a folder with related assets—color palette swatches, vendor links for recommended paper, and a PDF of common troubleshooting fixes. That way, when December rolls around again, you’re not searching through 47 downloads—you’re opening the right version, calibrated and ready.
Realistic Expectations for Long-Term Use
No 3D Santa Cut File eliminates every variable. Material stretch, blade wear, screen calibration drift, and even seasonal temperature shifts affect outcomes. But its strength lies in reducing *known* friction—not promising perfection. It streamlines prep, structures assembly, and scales reliably when paired with intentional process habits.
Use it where dimensional impact matters: window displays that catch light differently from flat posters, classroom projects that reinforce spatial vocabulary, or client deliverables where tactile quality signals care and attention. Skip it if your goal is rapid digital-only content or ultra-minimalist aesthetics. Match the tool to the outcome—not the season.
When integrated deliberately—tested, documented, and extended—the 3D Santa Cut File becomes less of a holiday download and more of a repeatable workflow lever. It saves time not by doing the work for you, but by removing guesswork from the parts you do repeatedly.